

Setup
To set up webhooks on your Bitpowr account, follow the steps below:
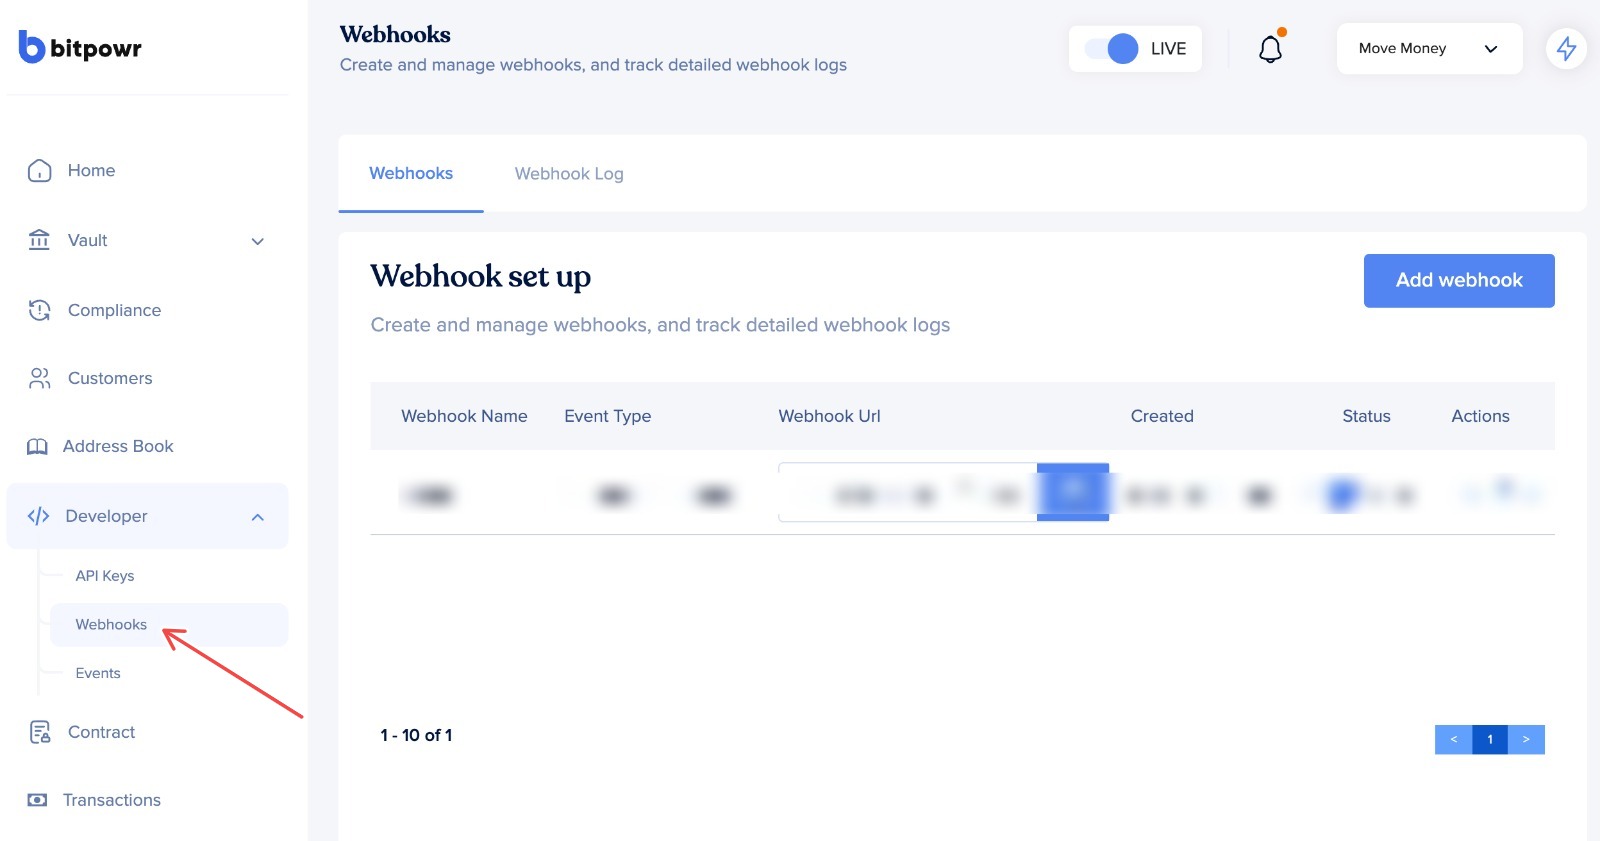
- Navigate to the Webhooks Page: Log in to your Bitpowr Dashboard and click on the Developer side menu. Then, select Webhooks.
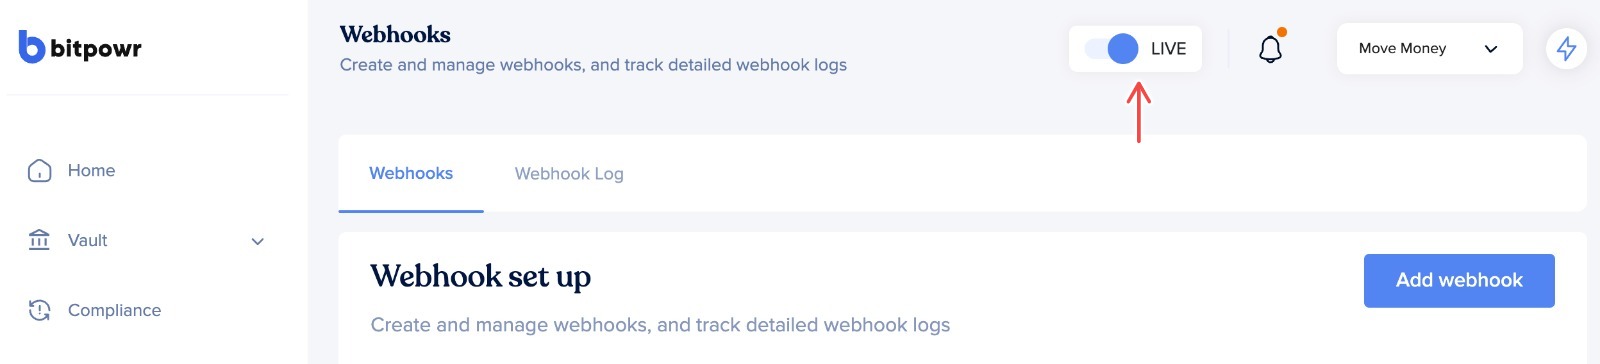
- Environment Check: Ensure you're in your preferred environment. If not, toggle the button on the dashboard to switch to your desired environment or mode. This ensures that you're setting up the webhook in the intended environment, whether it's for testing (test) or production (live).
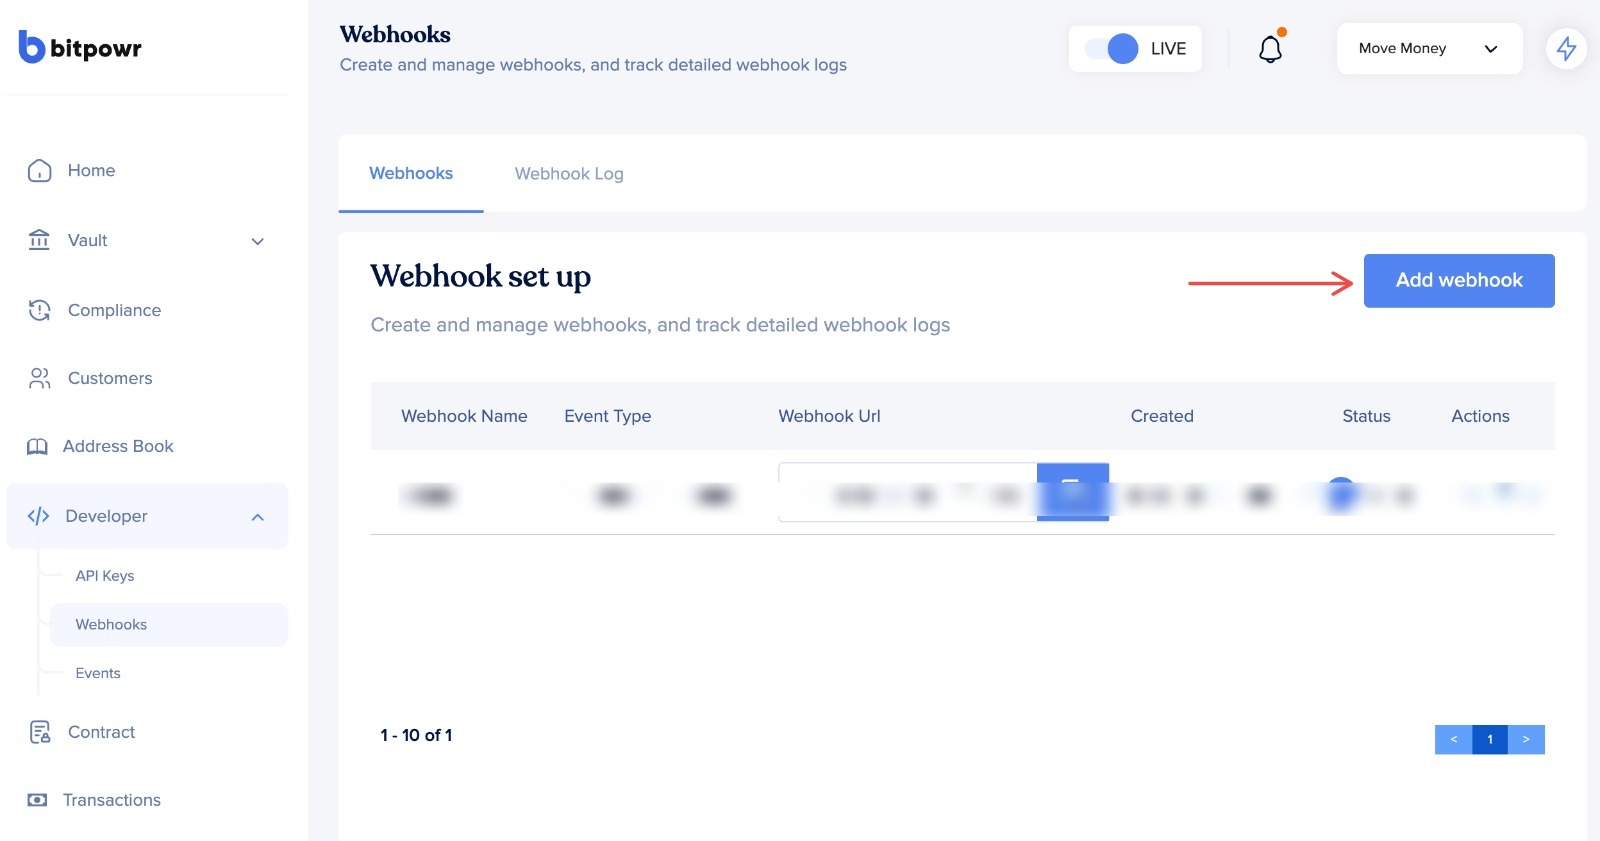
- Add Webhooks: Click the Add Webhook button to create a new webhook.
- Input Webhook Details: Fill in the form with the details of your webhook.
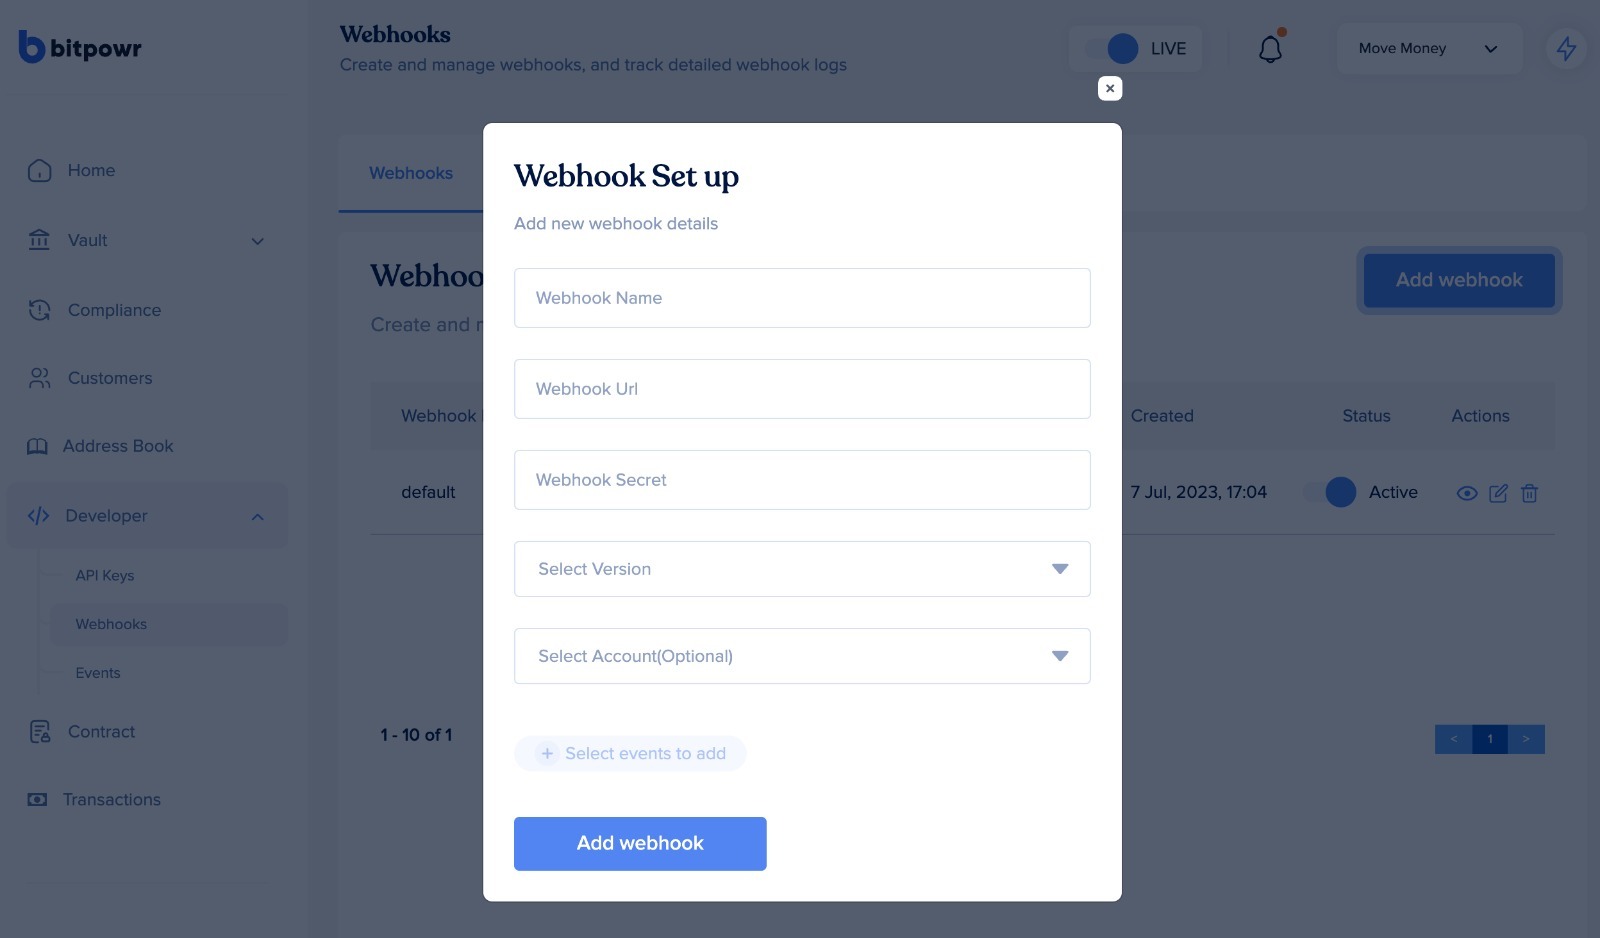
The following are the details you need to input:
-
Webhook Name: A unique name for your webhook. This is for your reference and can be anything you want.
-
Webhook URL: The URL where you want to receive webhook notifications. This is the destination where Bitpowr will send the webhook notifications.
-
Webhook Secret: An optional but recommended secret key used to encrypt your webhook payload during HMAC verification. This key also serves to verify if the request is coming from Bitpowr.
-
Version: Select the version of the webhook you want to use. We recommend using version 2 for all new integrations.
-
Events: Select the events for which you want to receive notifications. You can select multiple events for a single webhook.
Save Details: Once you've entered the webhook details, review them to ensure they're correct. Then, click the Add Webhook button to save your settings.
Your webhook is now set up. Your application will start receiving notifications for new events related to the products you've opted for.
If you have any questions or need help setting up webhooks, please get in touch with our support team.
Updated about 1 year ago